Another Bolt Action Campaign kicks off on Merseyside, with Martin doing a sterling job organising. Critical Hit Gamers Cafe was the venue, and given Keith is always full of surprises I wondered what his devilish mind would come up with for this? While I expected a fanatic horde of regular and veteran Reds, his dual platoon force below consisted of the following:
1 Inexperienced 2nd Lt, 1 Inexperienced 2nd Lt +1, 2 x 7 Inexperienced Rifle squads, 2 x 12 Inexperienced Rifle Squads, Free 12 man inexperienced rifle squad, 2 x 4 Man Regular At team with 2 Smgs, 2 Light howitzers, 2 Inexperienced Heavy mortars, a tiny regular B 20 armoured car with LMG, a regular BA 10 armoured car and a regular lumbering multi gunned T-28. The list was from a 1941 theatre list but cant remember which one and came in at a solid 16 dice for 1000pts of relative dross...
 |
| The Reds minus 2 light howitzer Keith had already deployed as I took the picture |
2nd Lt + 1, Veteran Medic, 2 x 8 Veteran Pioneers with 5 SMG's and a flammenwerfer, 3 x 9 Heer infantry with 1 LMG and 1 Smg, 2 MMGs, 1 Medium mortar with spotter, Veteran sniper, AT rifle and a BMW 75. All in a solid, force that was a little anti tank light but far superior to the opposition.

The Scenario was Angriff, with the 3 blue markers the objectives. Control the most at the end wins. Area terrain, mostly hard cover and difficult ground, with roads but some obstructed. Dan Miller had did a great job with this stuff for the Mersey tournament a few weeks earlier.

With my own forces all on first wave, the Soviets held their armour and both officers in reserve, subjecting their infantry and artillery to the preliminary bombardment which killed a couple of guys and liberally spread the pins out

TURN 1
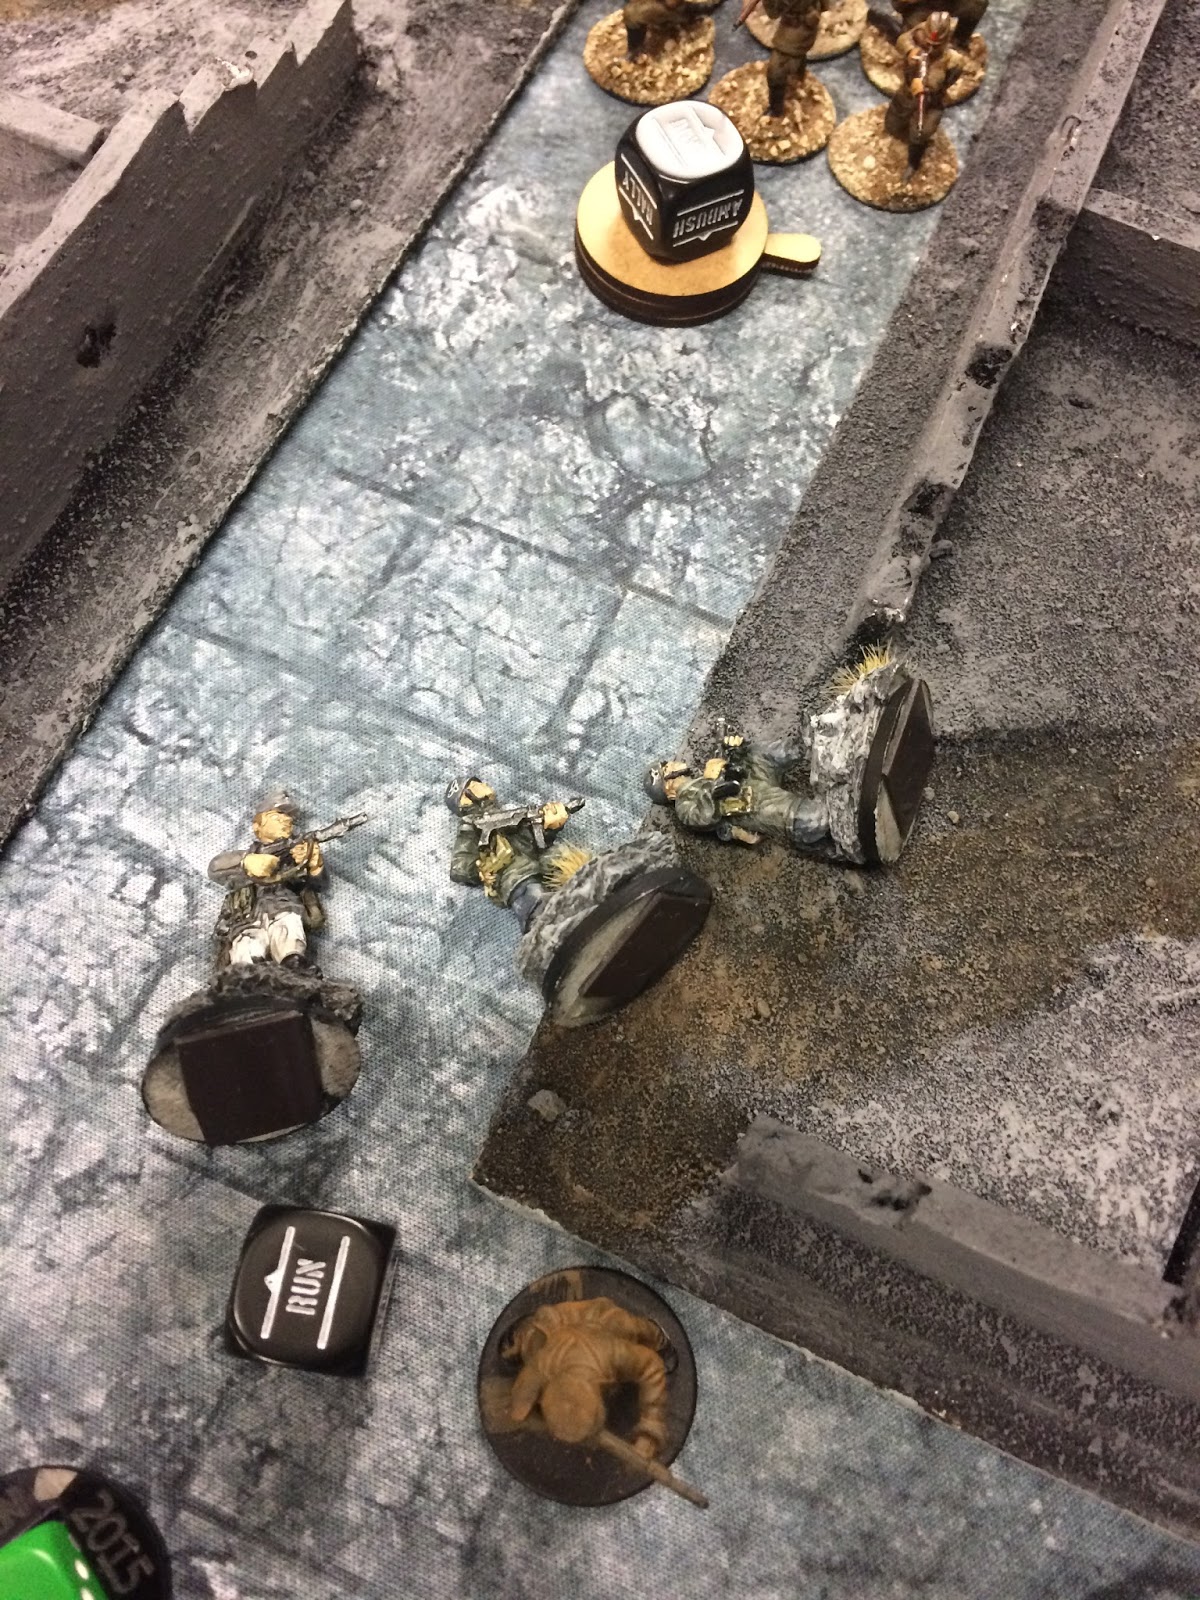
The Germans came on centrally in force with 1 Pioneer squad, 2 Heer and both MMGs with the medic in support going towards the centre, while the rest advanced centre left. The sniper team took out a Soviet heavy mortar, and the BMW sped up and reduced the AT team on my left to two men... The Soviets either rallied, failed to rally and only the light howitzer on my left fired, trying to locate the sniper.

I felt confident enough to have both pioneers running up the central street, as the Russians kept their heads down

I even remembered to get a Soviet perspective, which is rare as I tend to be biased.

TURN 2
Expecting the T-28 to ruin my day, both pioneers took the objectives before the Soviets could get moving in any form of coherent resistance

Sure enough, it was the only reserve that actually managed to get on in turn 2 and killed a pioneer on the centre objective. I lost my sniper team to the light howitzer while on my right, the 2nd tried spotting my mortar spotter and the heavy mortar failed to fire again and went down. One Red 7 man squad got moving on my left and the 2nd 7 man team also advanced centrally, while all my left flank fire went into the 2 man AT team that took out my BMW 75 with the first activation...

Another view of the hunkered down Soviets who couldn't get moving at all...

And another, they just couldn't shake the preliminary bombardment effects..

The view of the central AT team with Pioneers below, 2 Heer squads, 2 MMGs and a medic directly opposite and a Mortar that was about to drop a round on them (taking them to a sole NCO)

My left (viewed from Soviet side, so their right). The pesky two men from the AT were proving impossible to shift, with a Heer infantry squad, pioneer squad, AT rifle and 2nd Lt in those ruins

Inteligence said the Reds would have no armour support, you know...

And so the God of War let loose his Thunder...

Despite not activating in turns 1 and 2, Keith persisted in trying with his remaining heavy mortar, (actually he hit first then realised he need to test and the Gods of dice were with him). He sportingly targeted the medic (well, its allowed on the Russian front) and took him out, along with 2 men form each Heer squad and one MMG gunner, giving both squads and both MMGs 3 pins... Annoying that, but both Heer rallied this turn but it meant I couldn't push on and take the building opposite as the Soveits were all starting to rally themselves...

My left pioneers advanced and liberally doused the 7 man rifle squad that was in front of them with fire, while the Heer advanced out and failed to hit the small At team to their left. The armoured cars came on, the wee "Bobi" BA-20 with an LMG killing three Heer... The advancing Soviet infantry and T-28 put my centre pioneers onto 4 pins but failed to kill any of the veterans

But both objectives were firmly in Germans hands

The aftermath of the mortar round...

A 2nd Lt plus on ran on the left to shift the 12 man squad that were still going down to frequently and the BA-10 came up on my right.

TURN 4
I got first activation, and hit the T-28 with the flamethrower, just the once and not penetrating but forcing a morale check with 3 pins... It passed.

My pioneers centrally decided to assault the 7 men ahead of them, to take the ruins and stymie the advancing pair of 12 man squads. Alas, with Reds crawling out of all the ruins, they mistook the supporting Heer squad behind who advanced to kill 4 of the Russians advancing down the road as enemies and tried to flammen them. (They rolled a double six, and then a 2 on the FUBAR table). Fortunately, with 4 pins they didn't hit at all.

On the Pioneers right, the other Heer squad advanced killing another of the squad who advanced of the road into the ruin but in turn suffered as the hands of the BA-10

On my left, the Soviet AT team was down to one man as the other died while charging the 4 remaining Heer and wiping them out, while the BA-20 (having been missed by the AT rifle team in the ruins) sped around behind the Germans line to cut out their support, that little LMG killing two and forcing the remaining mortar man to flee...

Not a good turn, with the Soviets consolidating infantry near the centre while I bled on the street from multiple armour units... The lone 2nd Lt still wouldn't come on, we assumed h was at the river getting his mistress out the city with his vodka cache...

TURN 5
Keith is in no rush, moving his 7 men up onto the second floor to keep the fire on the hapless Germans in the street, as more Soviets advance up behind them

When I say hapless, I mean hopeless as a rally attempt results in another Fubar which at least allowed the pioneers to flee to the ruins by the remaining MMG team, that darned heavy mortar having taken out the other as they were shell shocked from the hit in turn 3...

With my forces encircled by enemy armour, the left pioneer squad assaulted the T-28 to no effect while the Heer in the street hit the deck as fire rained in from all sides

Down and outnumbered, they were easy meat for the bayonet wielding red charge, though the Soviets lost 3 men as well. The other Heer squad (well, NCO, LMG and loader advanced up to keep the objective but failed to hit the 5 remaining Soviets, while feeling safe in numbers, the lone AT team member came down from his vantage point.

So centrally the Soviets have an Armoured car, 2nd Lt plus one, solo AT dude, 5 men, 7 men and 12 men threatening the 2 man MMG and 3 man Heer squad at end of turn 5.

A better shot of the Soviets now they have got up and at em...

My 2nd Lt finally gets rid of that AT team, and the AT rifle will come down rather than chase the BA-20

The 2nd Lt has left the dockside, running on and getting the 11 men who had been in the only standing building since the prelim bombardment when they lost a man to move (on turn 5)

There he is, and that's why my AT team came down. They didn't the packed masses though.

TURN 6
Despite the dice being in the Soviets favour, I got first activation allowing my 3 pioneers on the left to advance and kill some of the approaching horde, to keep them away from the objective. With 3 pins they wouldn't move. Centrally, things were pretty much hopeless and I had to decide whether to try a 7 pin order test on my pioneers to get them back into the frey or try and take out the T-28 with the AT rifle which had a pin. I opted for the sensible, rolling a double 1 for the AT rifle test!!! (Had that bee the pioneers, they'd have passed the test AND removed D6 pins. When the dice gods laugh at me, they do laugh heartily) And I didn't hit the T-28 either.

I did get to gun down the 5 men in the street with the MMG though.

Having seen his beau of to the other side of the river with his vodka, but having failed to shift his troops, the Inexperienced 2nd Lt had a rush of blood and on his own personal crusade for the Motherland assaulted the three SMG toting Pioneers, killing one but the veterans rolled a 1 and 2 in response... How terribly depressing, not to say shameful!!!

My force now consisted of a pair of Machine gunners, an AT rifle and a 2nd Lt.

But I still had the 3rd objective

Keith very generously let me roll for turn 7 to prolong the misery and complete his total victory, which I duly obliged him...
Turn 7

Well, it was a short turn! The T-28 cranked its turrets and tracks, advancing and wiping out the Lt and AT rifle. The Soviets own answer to Audie Murphy took the third objective and the last MMG crew went down in an assault by the other 2nd Lt plus one...

Well that was a humbling game, as I felt supremely confident up to turn 3 that the forces of the Wehrmacht would prevail. Keiths troops largely stayed put until his support elements had reduced me sufficiently to allow him an easy win in the end, think he lost 4 or 5 units to my entire force... Have to say it was a thoroughly enjoyable defeat, with Fubars and fun elements all the way through. Highlights are obviously the late showing 2nd Lt's heroics, the AT team on the left that lost a man in the preliminary bombardment taking so much heat from my left flank and taking out the BMW and the Heer squad, while it might be better not to mention that Heavy mortar. It stopped me in my tracks at a time when I needed to keep advancing to get to grips with the Soviet infantry. All in all, its fair to say I received a damn good kicking and it doesn't bode well for the start of the German offensive to take Stalingrad...
No comments:
Post a Comment